Documentation
Starting up - Install Elanat
This article is about installing Elanat after it is placed on a web server.
Install steps:
Step 1: First, run the website and wait for the browser to finish loading; This loading is the CodeBehind framework's attempt to compile the website's aspx pages.
Tip: After loading the browser, only a white screen will be displayed.
Step 2: Change the browser path to example.com/install/ url.
Tip: example.com is an example of your website address or localhost.
Step 3: You need to create an empty database and enter its information on this page. Then you must enter the values of the server name and database name and the username and password of the database. If you have entered the information correctly, a success message will appear on the screen and a link will be displayed for you to continue the installation process.
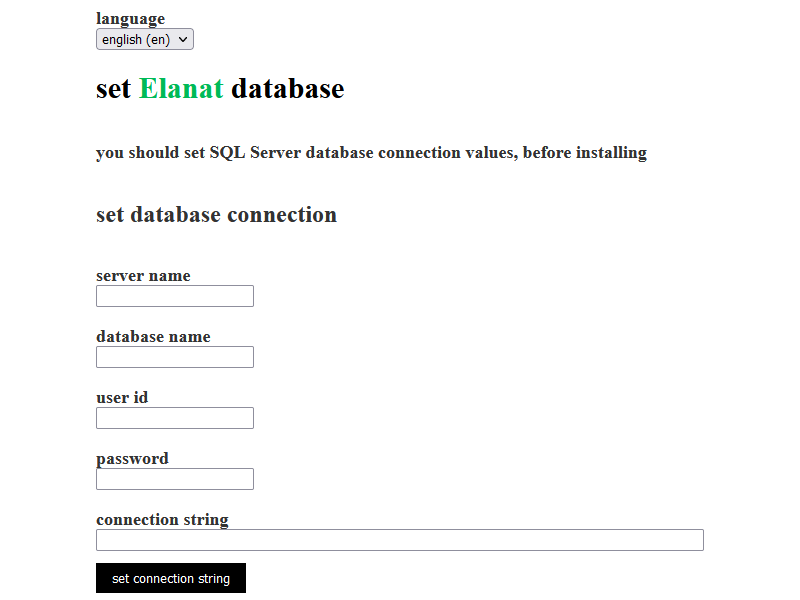
Tip: After the successful message of connecting to the database, you can enter the website with the username admin and password 123; but it is strongly recommended to continue the installation.

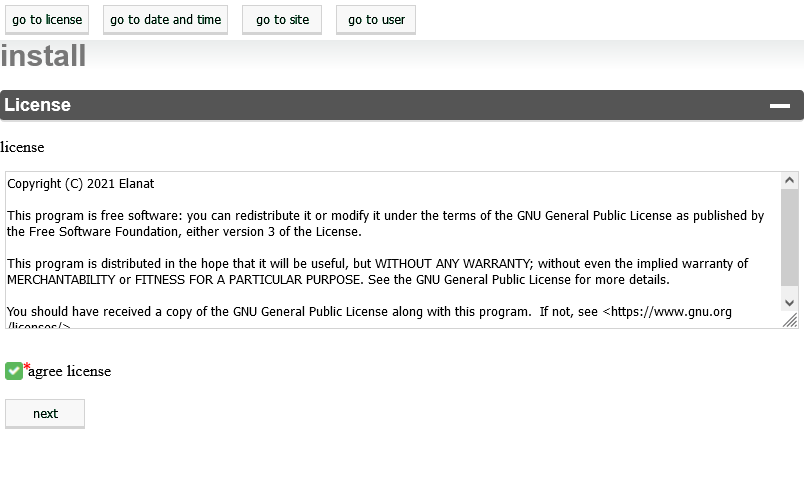
Step 4: After clicking on the install link, you will be transferred to example.com/install/Install.aspx; on this page, the first section, the license, will be displayed for you; Select the agree license tick and then click on the next button.
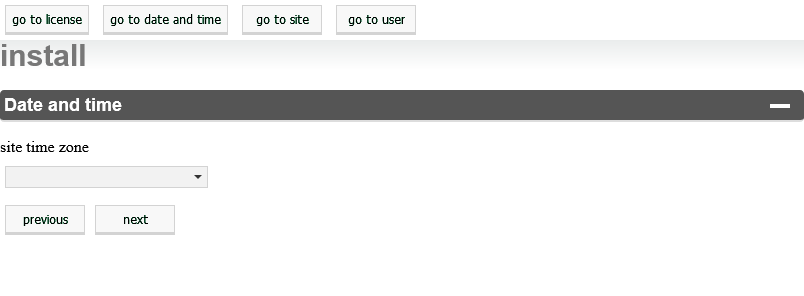
Step 5: Set the date and time and then click on the next button.
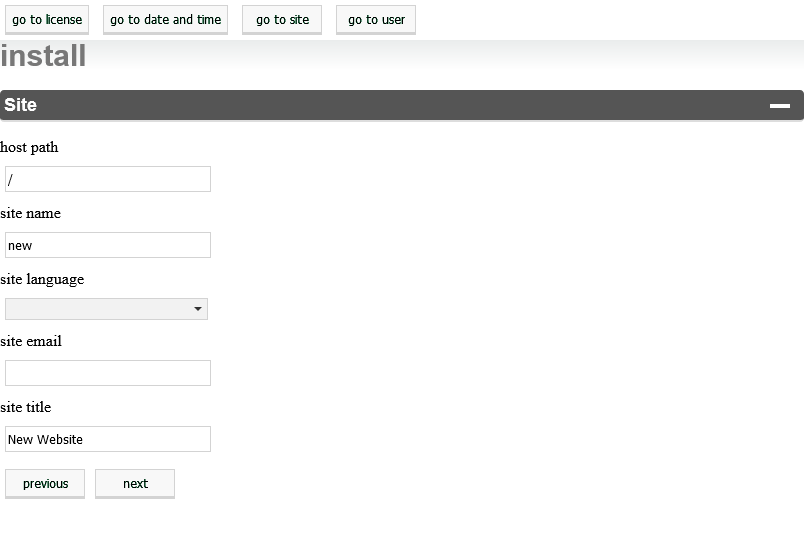
Step 6: Set the site name and site title and then click on the next button.
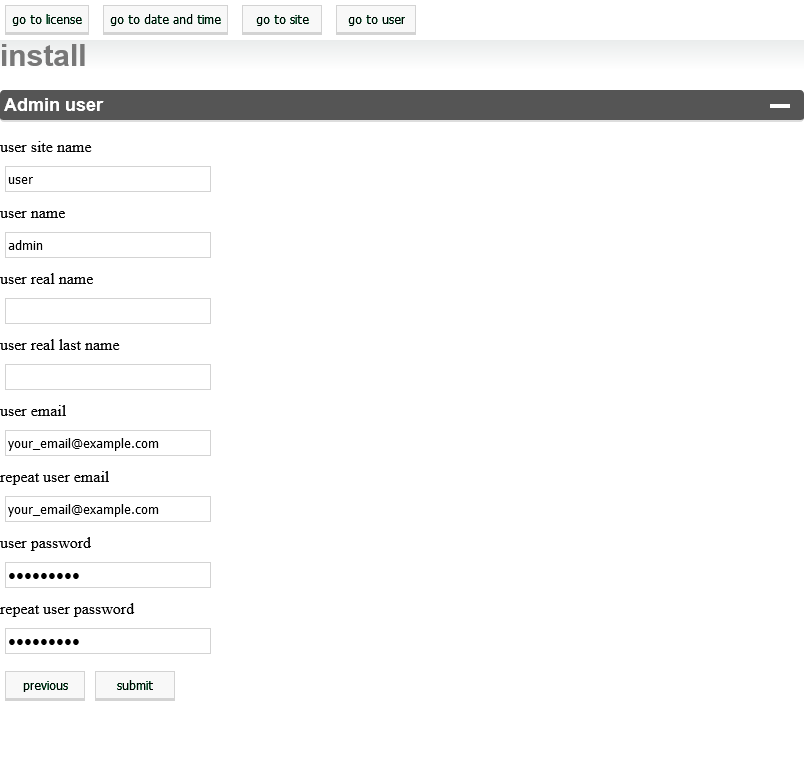
Step 7: In the admin user section, you must enter the site user name and user name along with email and password and then click on the submit button.
Note: In the default state of Elanat, the install directory will be moved from the current path to a path in App_Data after the completion of the installation process; because the CodeBehind framework no longer checks aspx pages for its references, it was necessary to redo the compilation process to cut off access to the install directory; so this process takes a while.
Step 8: After this process, you will see the successful installation message and the installation is finished.

